WMS-Inbound-Create Purchase order
Article sMHc3cBc · sourceCREATE PO:
-
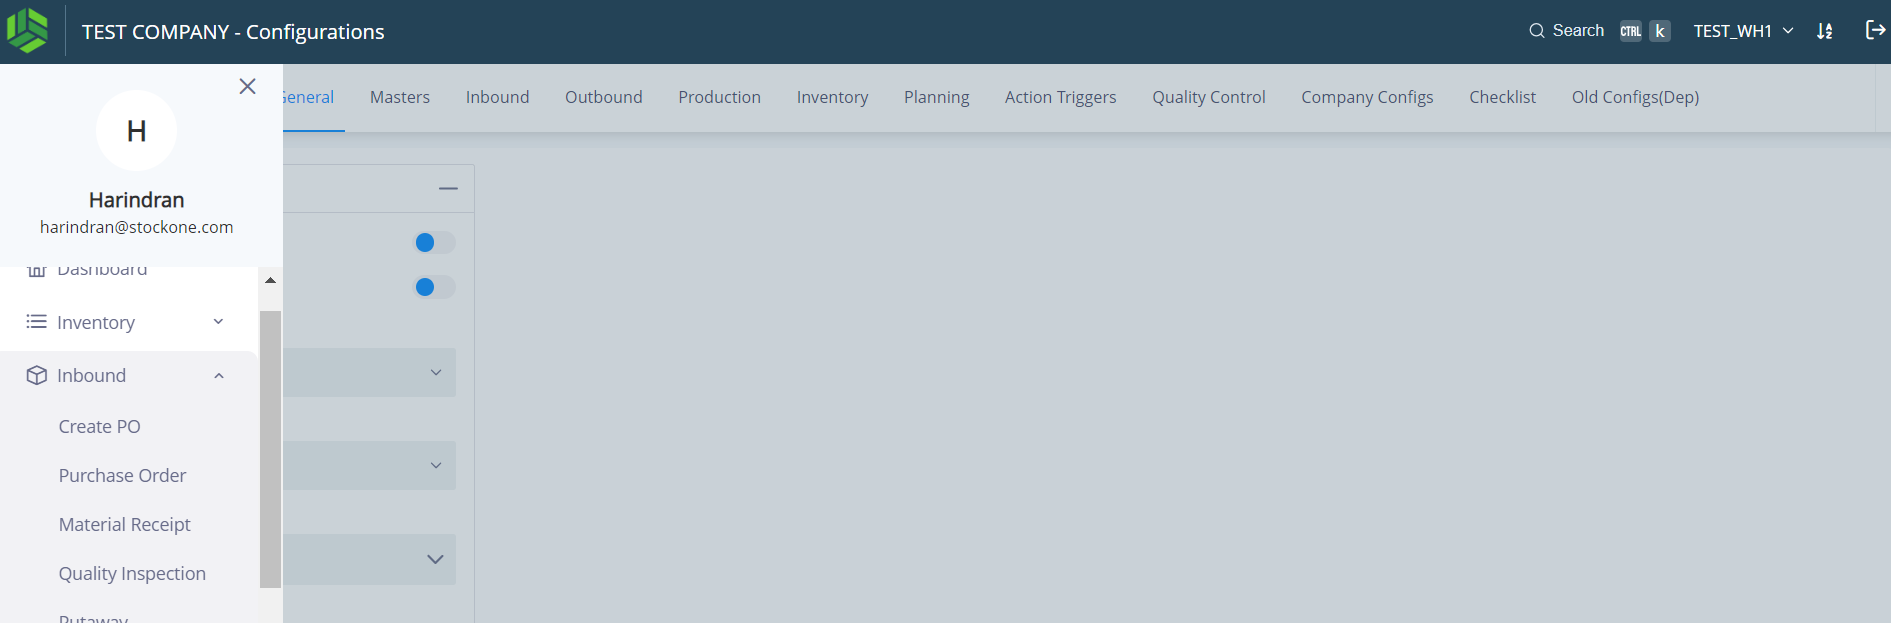
Click Menu > “Inbound” > “Create PO”.
-
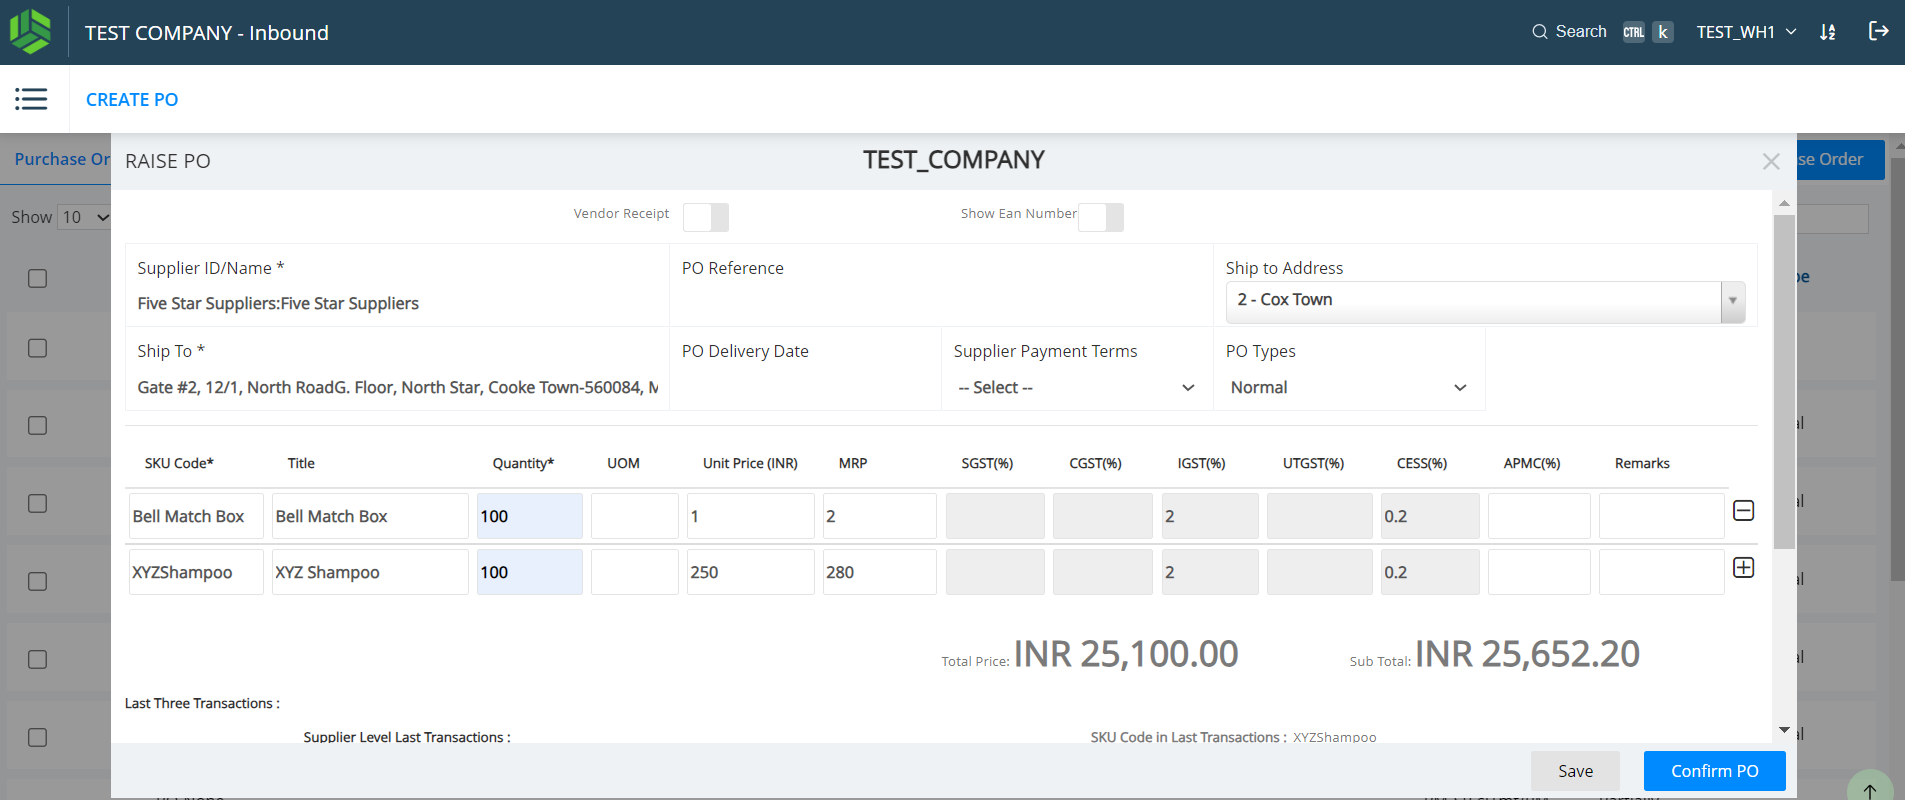
Select the Supplier and enter the details as shown in the Screenshots #1 below.
-
Enter the PO reference used by the client / customer, if any.
-
Select the “Ship to Address”. For details, please refer Doc. No. STO-NEO-PRF-INT-V1-R0.
-
PO Delivery Date: Select the Expected Date of Delivery.
-
Select the Supplier Payment Terms. While selecting, the options shown are the specific terms from the supplier master.
-
SKU Code: Search (3-letter incremental) for the SKU Code and select the appropriate SKU.
-
The Unit Price, MRP & Taxes will be prefilled based on the SKU Master values. These values can be edited. The Unit Price & MRP will be picked from the Supplier SKU Mapping, if mapping found. For more details refer Doc. No. STO-NEO-MAS-INT-V1-R0.
-
Terms & Conditions (T&C): T&C can be mentioned (free text), if any.
-
Click on the “Save” button as shown in Screenshot #2 below to save the entries, ifrequired. It can be edited before confirming.
-
Click on the “Confirm PO” blue button as shown at the right bottom corner of the Screenshot #2 below.
-
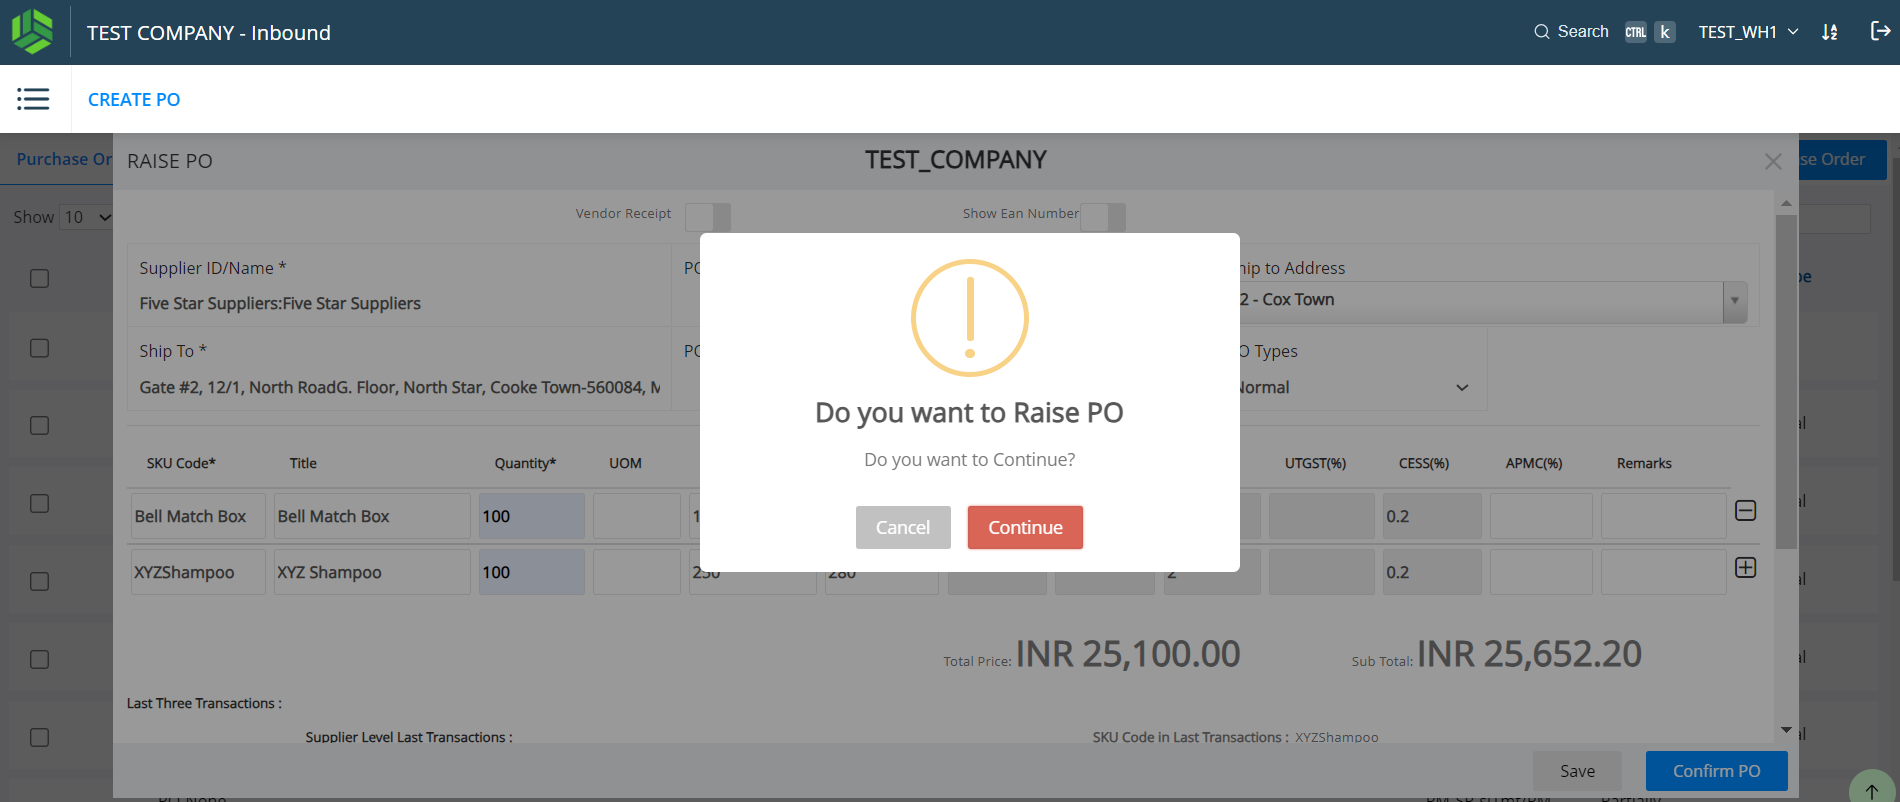
To complete the Raise PO activity, click on the “Continue” red button as shown in the Screenshot #2 below.
-
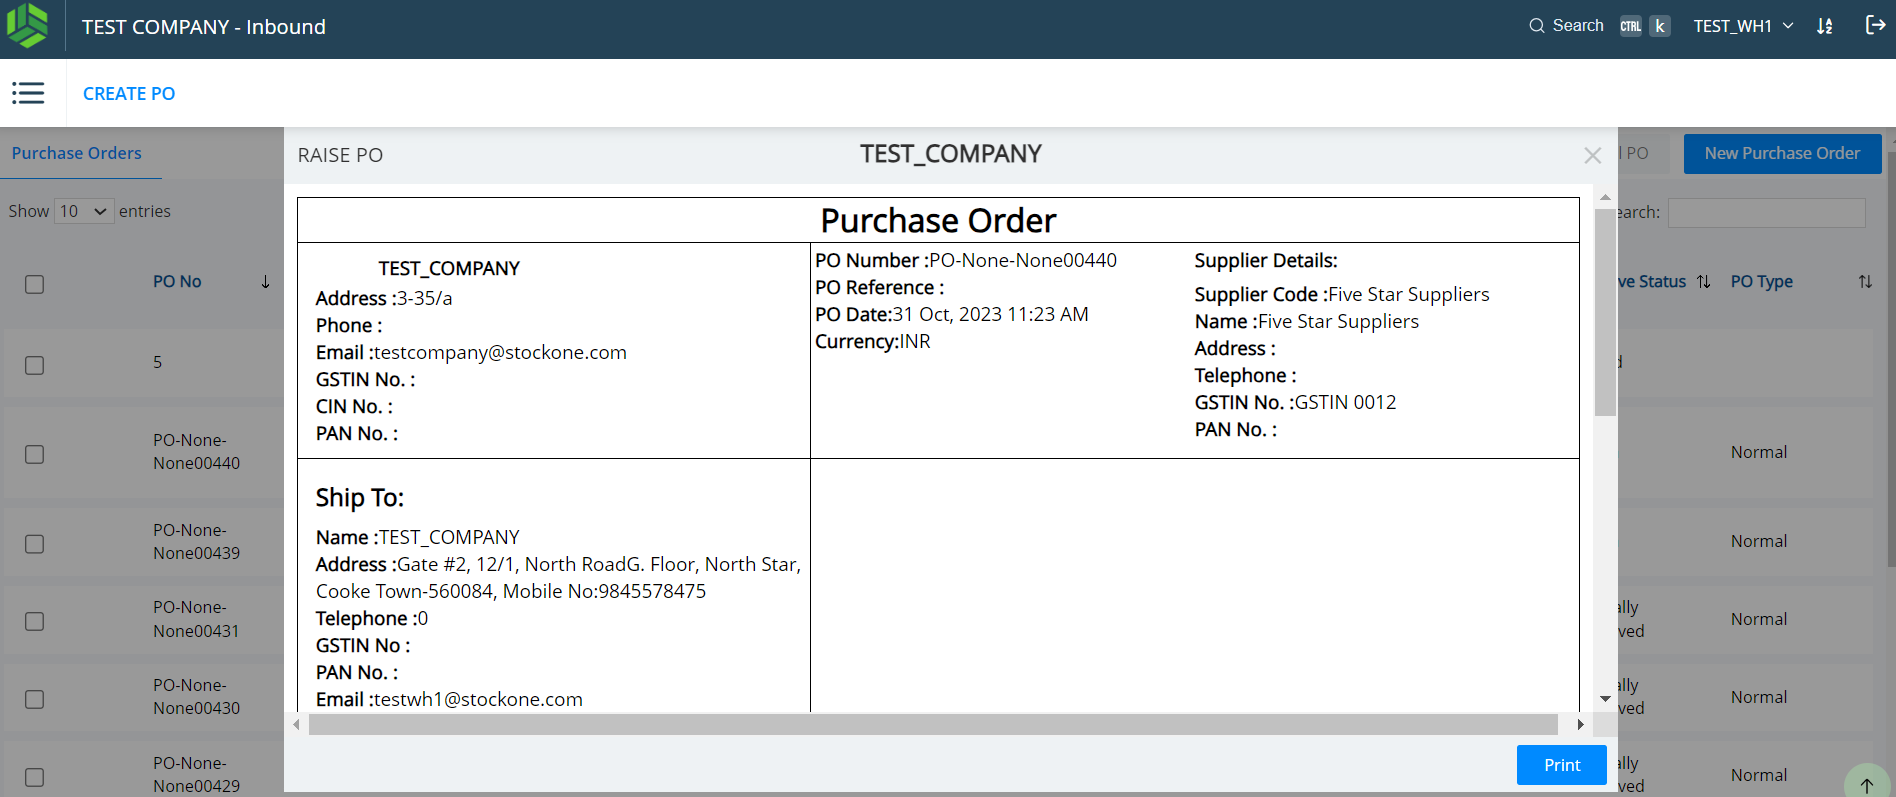
A confirmed PO view will pop up as shown in the Screenshot #3 below. The PO is automatically sent to the supplier.
-
A sample PO is shown in the Screenshot #4 below with details on how to read and understand.
➢ Output:
o The PO gets created and the supplier will receive a notification email.