WMS-Inbound-Create GRN
Article ge38tEJR · sourceGRN Creation:
Activity Introduction:
To receive material against a PO and create a GRN whenever the material is delivered by a supplier at the Warehouse.
➢Activity Description:
-
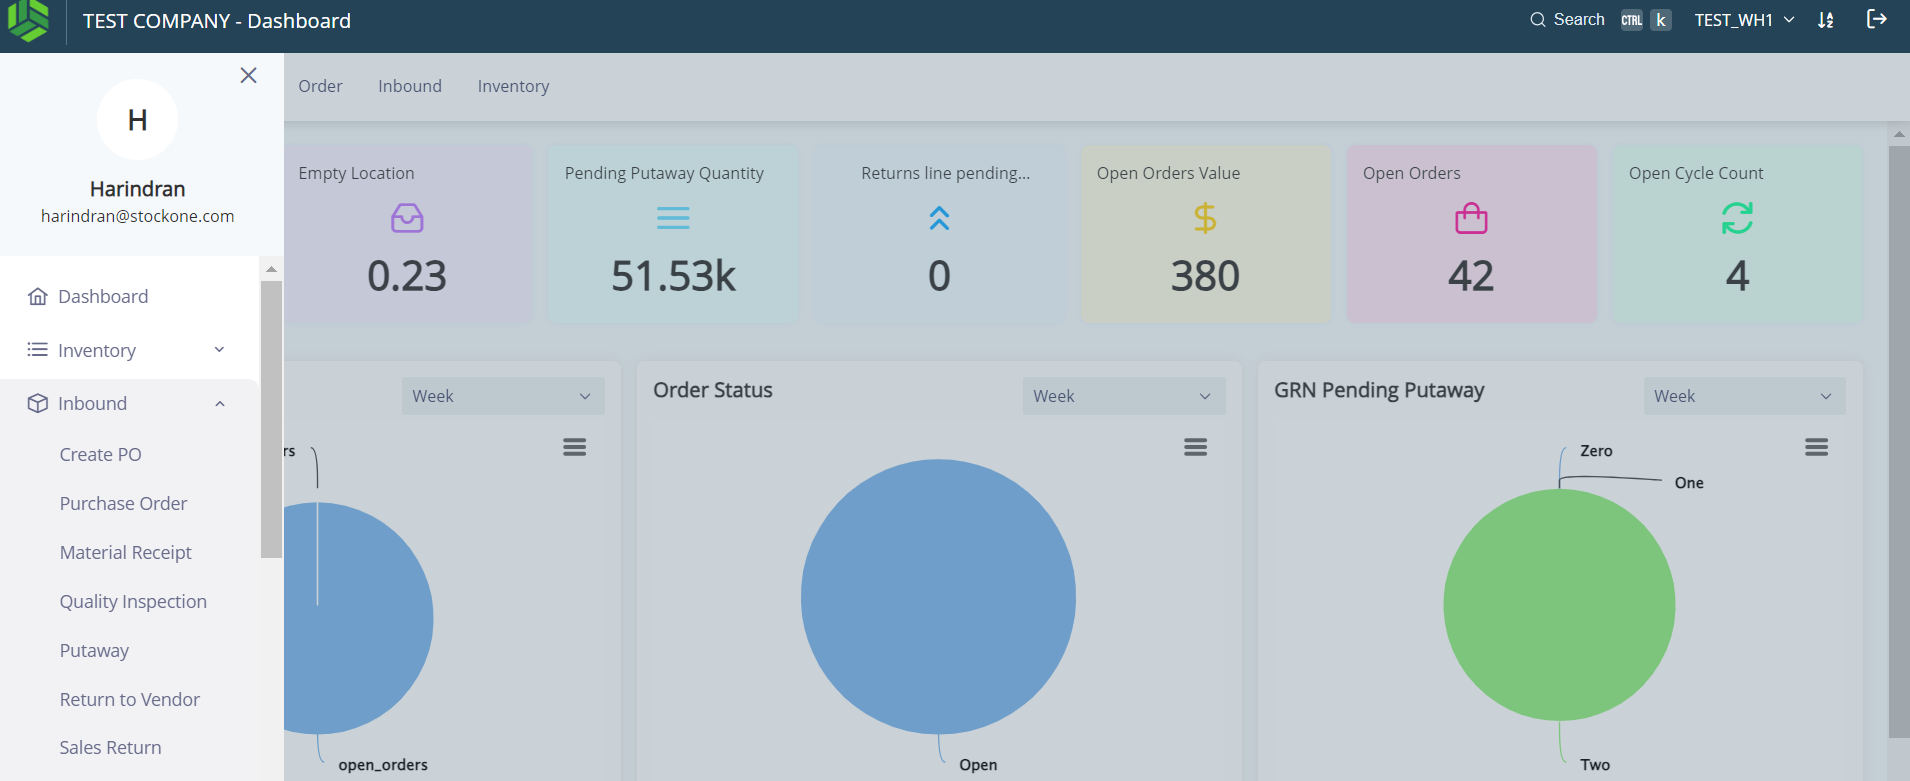
Click Menu > “Inbound” > “Material Receipt”.
-
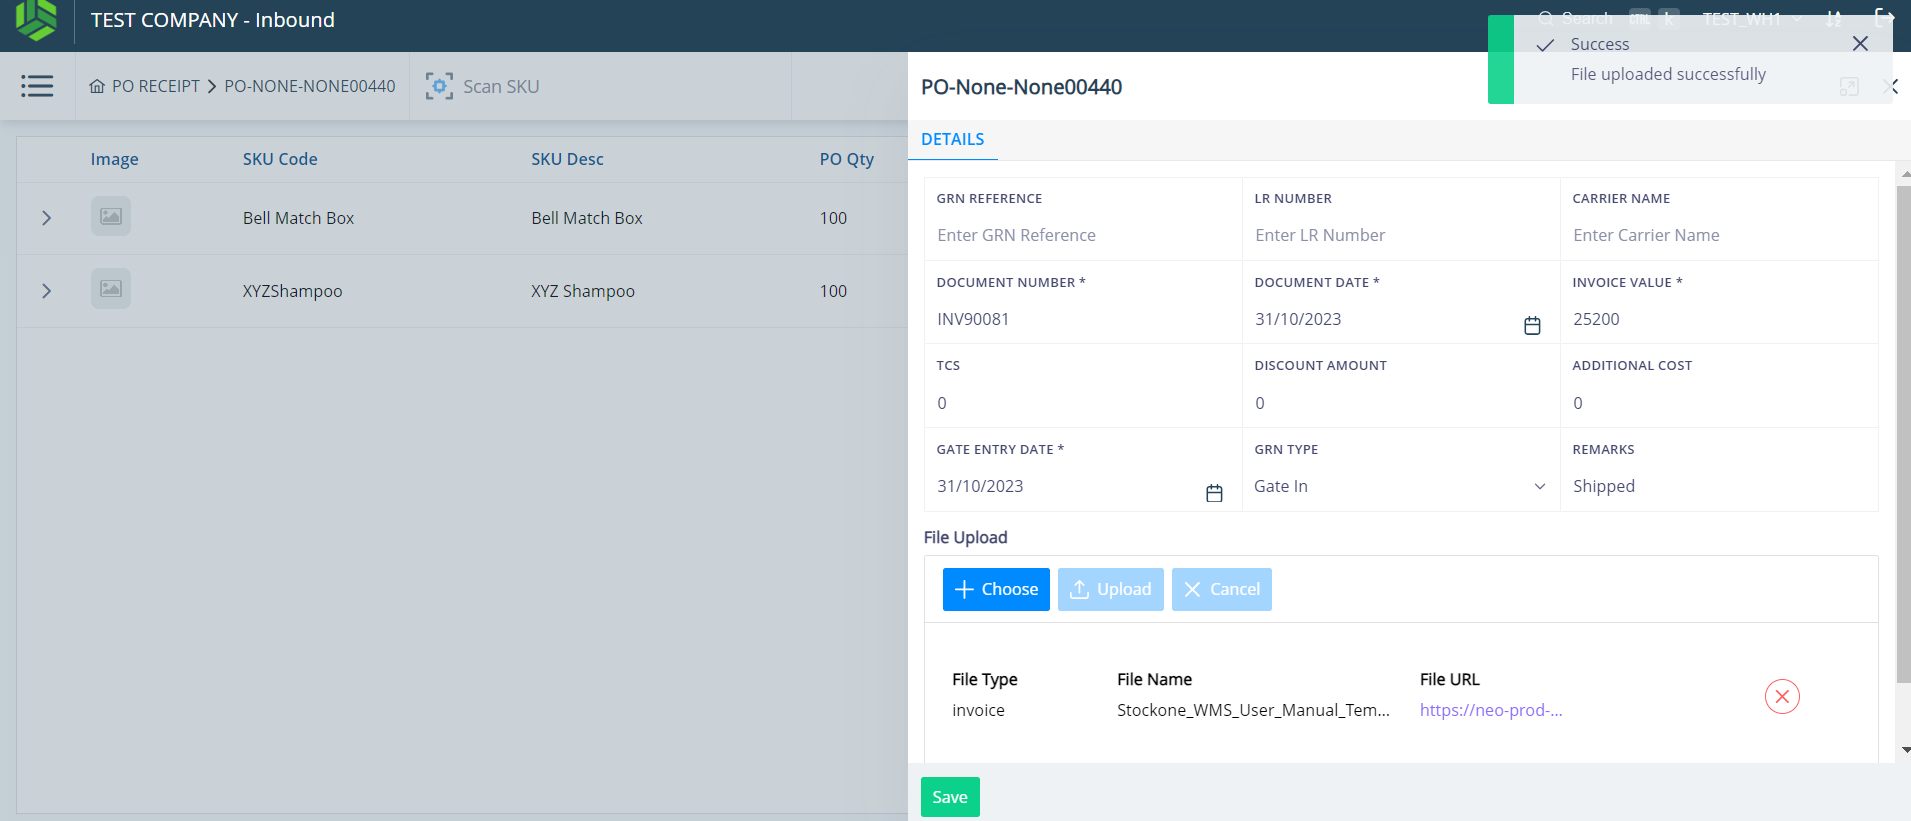
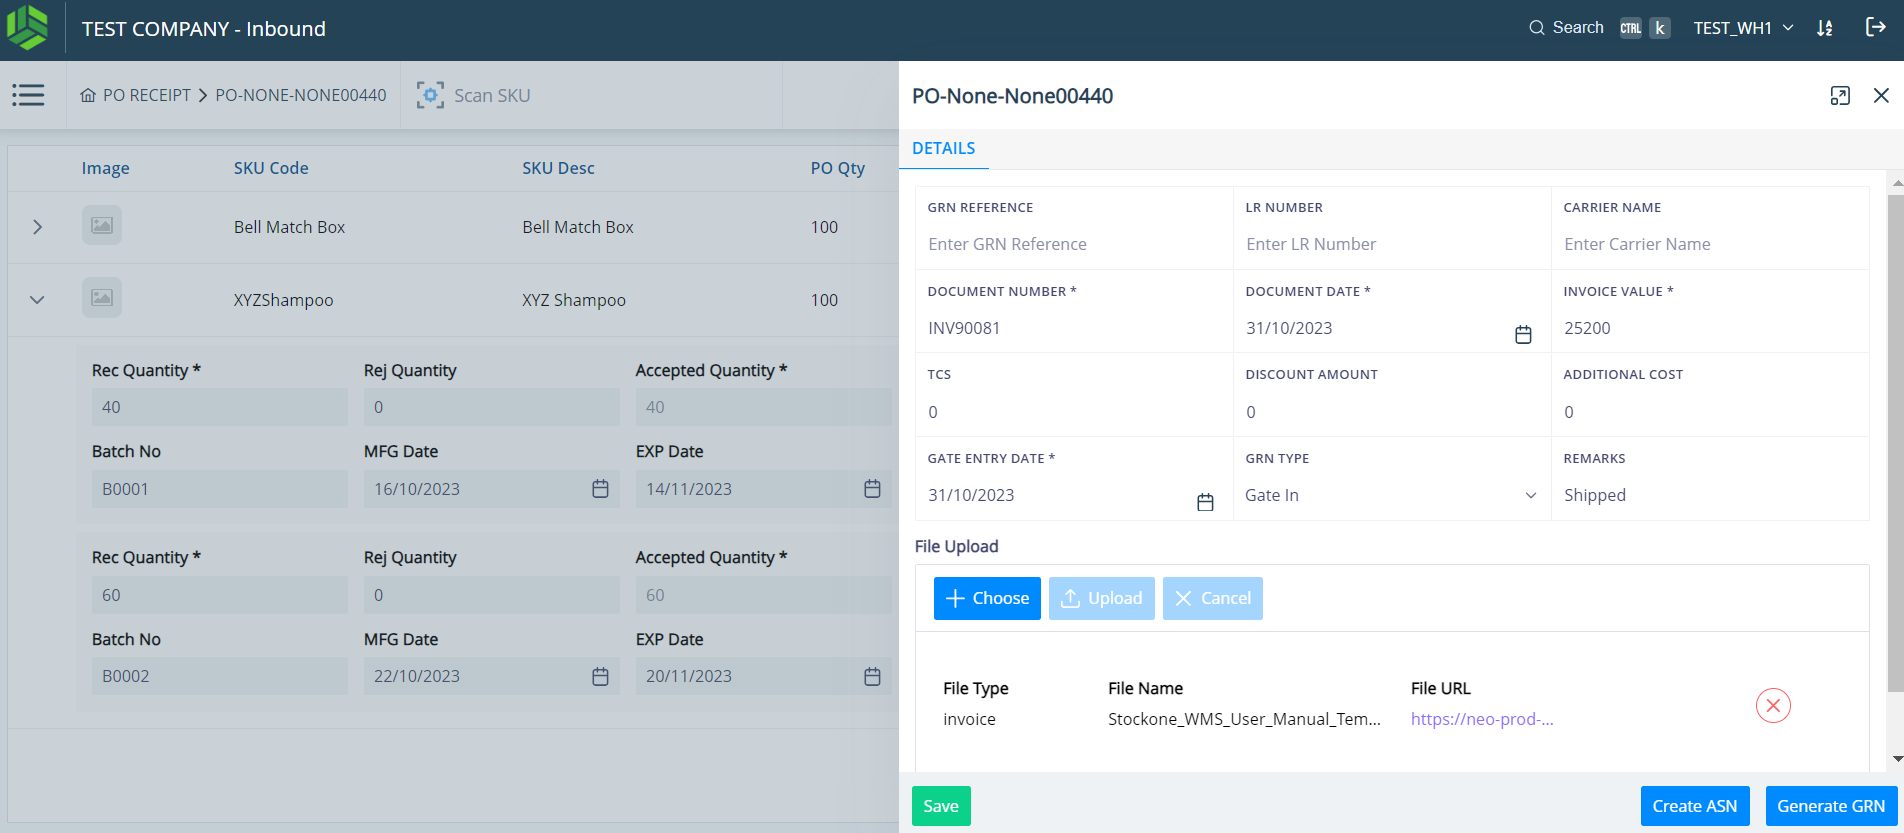
Enter the header-level details and upload the document as shown in Screenshot .
-
Once uploaded, the user will briefly see a message window on the right top corner of the screen stating “Success” & “File uploaded successfully”.
-
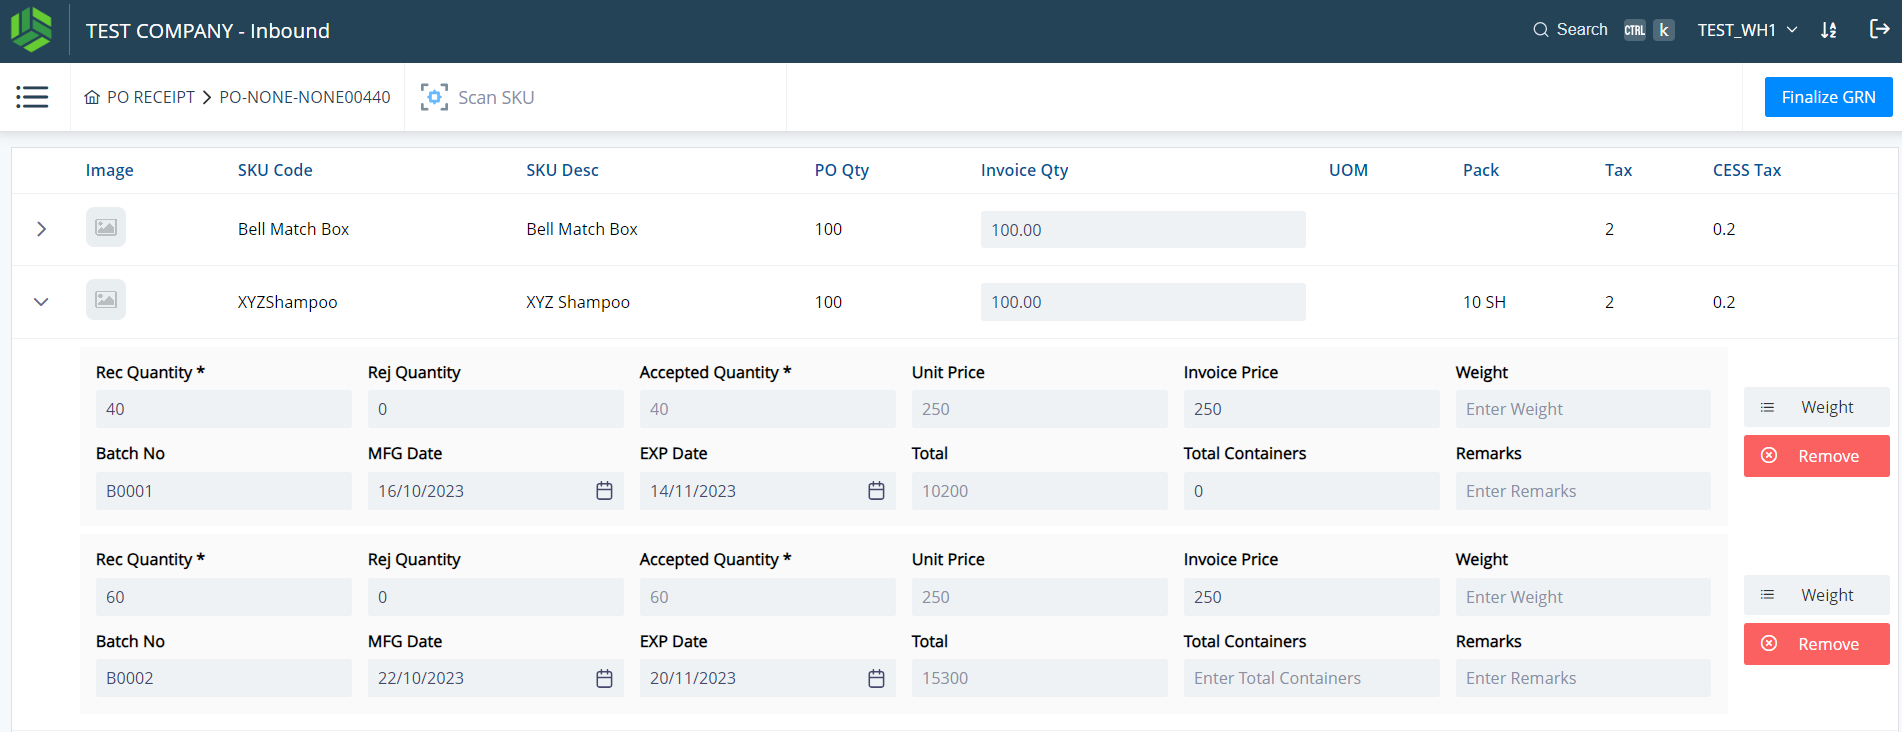
The Unit Price, MRP & Taxes will be prefilled for the SKUs.
-
Click on the line item to be received.
i.Enter the Invoice Quantity.
ii.Enter the Received Quantity.
iii.Enter the Rejected Quantity, if any.
iv.The Accepted Quantity will show up automatically.
v.The Short Quantity will be added to the inventory in the Short Zone.
vi.Invoice Price can be edited.
vii.Add Remarks if needed.
-
For batch-based SKU:
i.Batch-based SKUs are the SKUs that are batch-based enabled in the SKU Master.
ii.The material can be received in multiple batches by clicking in the blue “+Add Batch” button.
iii.For Batch-based SKUs, the display fields and mandatory fields can be configured.
iv.Enter the Batch No., Manufacturing Date, Expiry Date, etc.
v.If the batch number is not entered manually, the Batch No. will be prefilled based on the Manufactured Date.
vi.The Expiry Date will be prefilled based on the shelf life set up in the SKU Master.
-
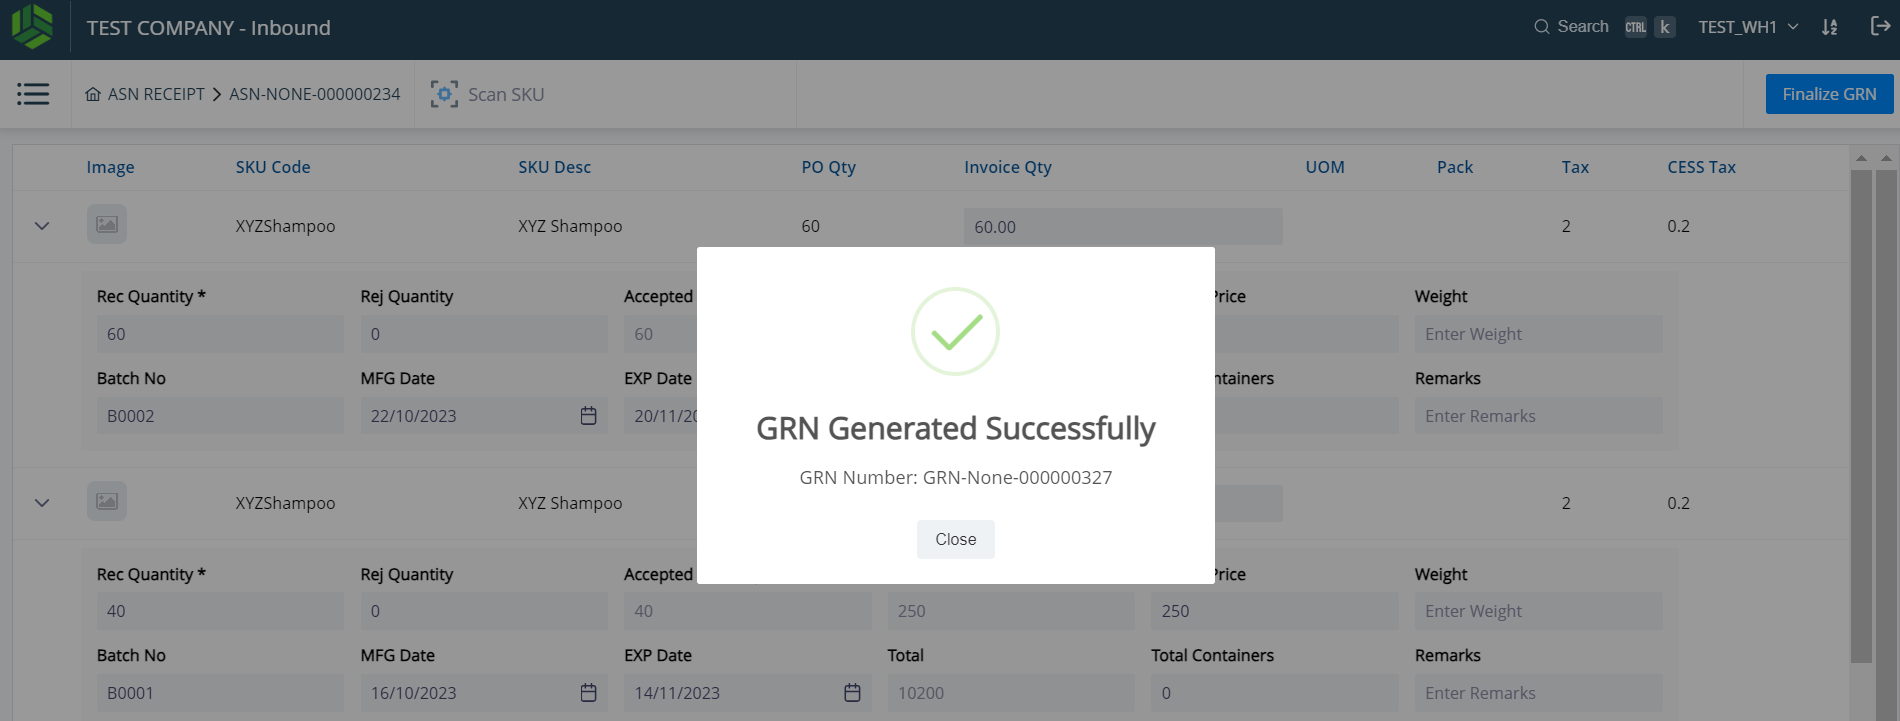
Click on the “Finalise GRN” blue button as seen at the top right corner of Screenshot #31.
-
Click on the “Generate GRN” blue button as seen at the bottom right corner of Screenshot #32.
-
Screenshot #33 shows a pop up that says the GRN has been successfully created.
▪The material is now ready for Quality Control / Putaway.
➢Output: Material received and GRN created.